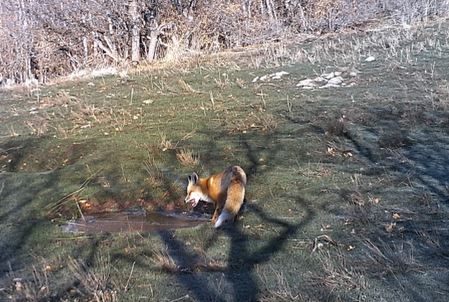
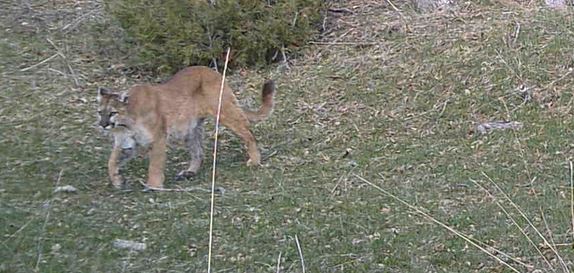
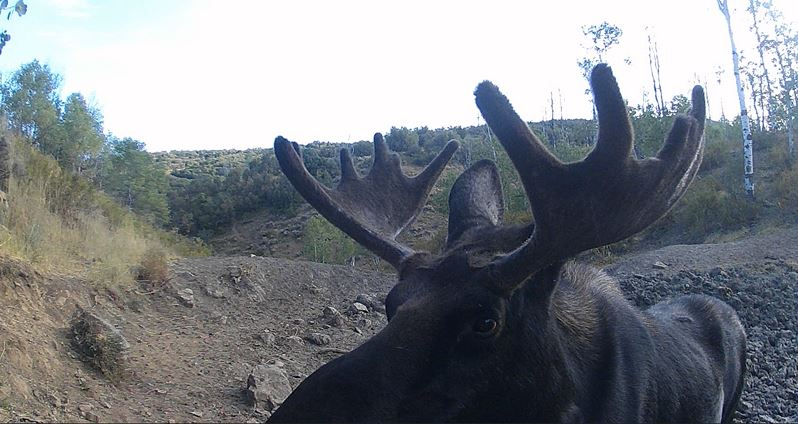
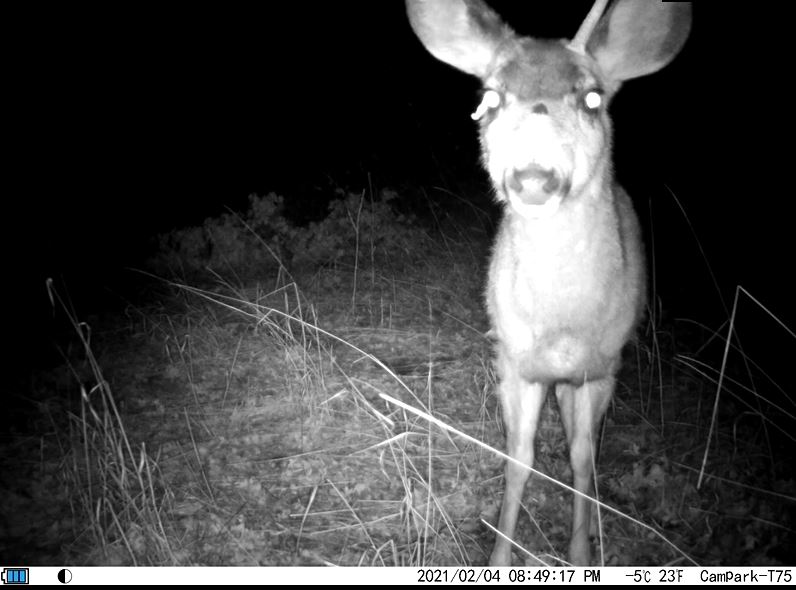
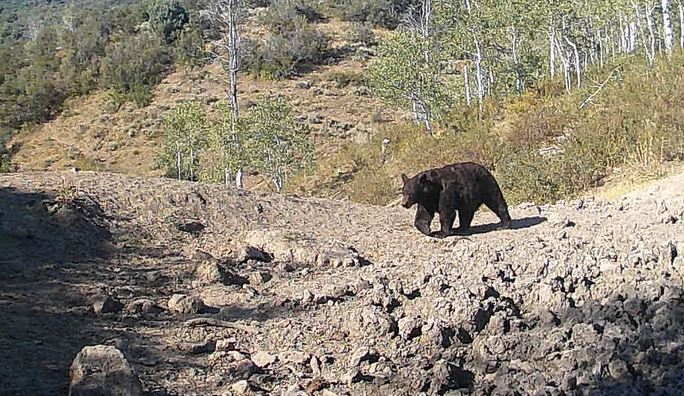
Have you ever wanted to use trail cameras? Using trail cameras can be a fun and engaging hobby for people of all ages. They provide an eye into nature that one can not normally get. One of the main questions we get here at Backyard Trail Camera is how we get so many awesome trail camera pictures and videos. So we decided to give you our 5 best tips on how to use trail cameras.
#1 Get a Good Camera
There are a lot of Trail Cameras out there to choose from. Some trail cameras are awesome and can get awesome pictures and videos. There are also some cameras out there that are absolutely terrible. To get a good trail camera it is good to do your research before buying one. The best place to check reviews for trail cameras is on Youtube. If you search the trail camera’s name that you are interested in you will most likely find pictures and videos from the camera you choose. You want to check and make sure the picture quality is what you want for both day and night pictures. A lot of times trail cameras can be expensive but they don’t have to be. If you need suggestions on cheaper cameras to use or see what cameras we use click below!
#2 Read Trail Camera Instructions
One of the biggest tips for how to use trail cameras is to read the instruction. A lot of cameras have settings to help take better pictures. Some also have settings to help with the sensitivity of the motion sensors which can help if you set them up in a very windy area. If you read the manual that comes with your camera you can see all the awesome things your trail camera can do.
#3 Find A Good Place
Finding a good place to put your cameras is key. Scouting an area before you set up your trail cameras can really help you know where animals are going and what trails they are using. When scouting it’s good to look for animals and animal signs like tracks, scat, fur, and feathers. Animals are creatures of habit and come back to the same areas multiple times. If you need more tips on setting up trail cameras click the trail camera tips below!
#4 When Should You Check Your Trail Cameras?
Initially, if you set your camera up in a spot you are new to we would suggest checking it once a week for the first couple of weeks. This will let you know if there are any animals around your camera. If you don’t get anything on these checks, move your camera somewhere else. If you do get wildlife in the first couple of weeks you can let your checks be less frequent. Once you have established there are animals in the area, checking trail cameras can become less frequent. The only factors you would have to worry about are your batteries running out of power and your SD card being filled up. Both of these last 2 reasons will vary between cameras and SD card sizes. After using your cameras for a while you will be able to see how quickly these 2 things happen.
#5 Don’t Be Afraid to Move Your Cameras
Sometimes animals are just not in some areas. This can be because of high use by humans or a lack of food or water. Occasionally animals only winter in an area and leave during spring and summer. There have been a few opportunities that we have missed due to an unwillingness to move cameras hoping that animals are not just wintering in an area.
